text to speech tutorials
How to Add Text to Speech Play Button Shopify
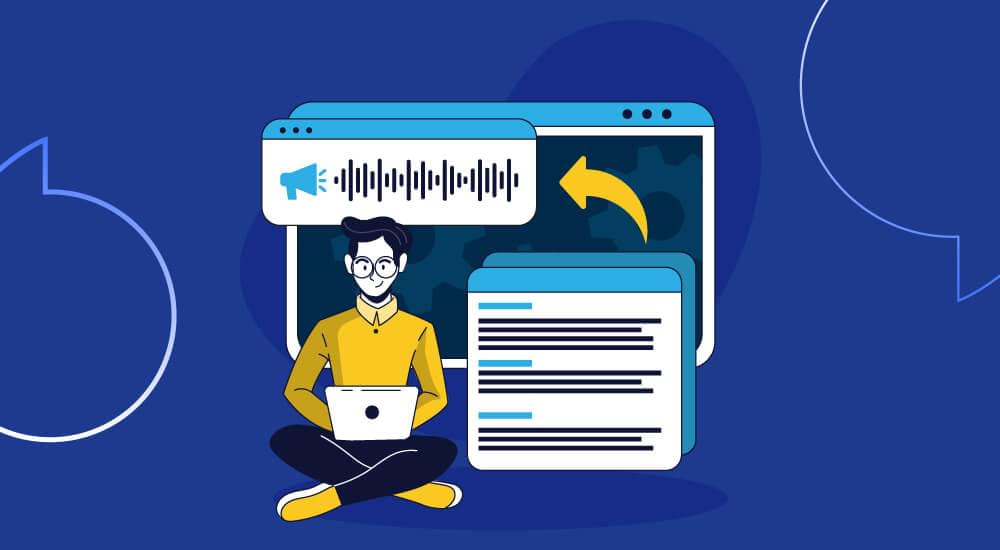
Do you know Shopify powers over 6 million sites on the internet? This is a massive number that shows how Shopify is the leading e-commerce platform that has a worldwide reach to millions of people. If you also have a Shopify store and you want to increase its reach and accessibility, you should consider adding a text-to-speech widget to your Shopify store with WebsiteVoice.
WebsiteVoice offers a simple TTS play button solution that you can add to convert the content on your Shopify store into voice. So, whether it is the blog section or the descriptions of products you are selling, the users will be able to listen to it by clicking on the integrated play button.

In this article, we’ll provide a step-by-step guide of how you can add a text-to-speech play button to your Shopify store.
Step-by-Step Guide to Add Text-to-Speech JavaScript Code to Shopify
The following steps will help you add text-to-speech play button to your Shopify store with WebsiteVoice’s widget.
Note: Shopify themes tend to have varying functionalities, so it is possible that you might face some issue in adding the play button to your Shopify store, or it might malfunction due to Shopify’s internal workings. In such a situation, it is recommended that you contact our expert customer support team or an experienced developer to complete this process successfully.
Step 1: Sign up on WebsiteVoice
First of all, you have to create an account on WebsiteVoice to get access to the TTS play button code. Don’t worry. You don’t have to make any long-term commitment at this stage, as you can start with a 14-day free trial.

Step 2: Configure your WebsiteVoice Play Button Widget
Once signed up, log in to your account to access the WebsiteVoice dashboard and configure the play button.
WebsiteVoice provides multiple options to customize and configure the play button widget. Some of these key features are:
- Choose Language and Voice: There are 60+ realistic AI voices that cover 35+ languages and accents.
- Modify Style and Color: You can choose the style and color of the play button as per your brand’s aesthetics.
- Offer Download Option: If you are subscribed to the Professional plan, you can allow users to download website content in a listenable audio format.
- Additional Features: Many other features are available to adjust text-to-speech speed, enable social sharing, and option to add custom intro/outro messages.
Step 3: Copy the JavaScript Code
Scroll down and copy the JavaScript code provided under the Installation section. You don’t have to manually adjust the code at all, as it reflects the settings you have chosen above. If you make any changes later, make sure you are copying the latest code.

Step 4: Authorize WebsiteVoice to Integrate with Shopify Store
Add your Shopify store link under the Update website section. This step is essential to make sure WebsiteVoice has the permission to integrate with your Shopify website and enable the play button.


Step 5: Open Shopify Admin Dashboard
Now that you have the WebsiteVoice JavaScript code on copy and have provided the relevant permissions, it is time to open your Shopify Admin panel and configure the online store.
Open Shopify website and login to your account.

Step 6: Open Online Store
Once logged in, open Online Store from the left sidebar to access your site theme settings.

Step 7: Open Theme Code Settings
Click on the three-dots option to access different options and choose Edit code.

Step 8: Paste the WebsiteVoice Widget Code
Different code files will appear that represent your Shopify site and theme. Don’t get overwhelmed by the code, as all you need to do is paste the code you copied from WebsiteVoice dashboard earlier on.
a. Open up the theme.liquid file located under layout. You can also search for it in the search bar located in the header.

b. Scroll down to the bottom of the theme.liquid file and paste the JavaScript TTS script right before the body tag. Click on the Save button to save the changes.

Done!
By following these simple steps, a play button will appear on your Shopify store through which users will be able to listen to the written content on your Shopify store.
Before adding the WebsiteVoice’s JavaScript code in your Shopify theme, your site would look something like this:
Once the code is added, a text-to-speech play button will appear that will help the visitors listen to your content like this:

Conclusion
The overall process of adding the text-to-speech functionality to your Shopify store via a play button is made quick and simple with WebsiteVoice. You can try this feature out for free with a 14-day trial, and once satisfied, upgrade to a paid plan to get full access.
Note: As stated before, some Shopify’s themes have internal limitations when it comes to properly displaying third-party widgets, such as the text-to-speech play button. So, if you encounter any such issue, you should contact our customer support team.

Improve accessibility and drive user engagement with WebsiteVoice text-to-speech tool