text to speech tutorials
How to Add Text to Speech Play Button to Drupal Websites?
Drupal is a popular content management system (CMS) known for its flexibility and security. A lot of individuals, as well as large-scale enterprises, use Drupal to manage secure websites. While it has many built-in features, you need to embed a small script manually to enjoy features like a text-to-speech (TTS) play button that can enhance your website’s accessibility.
Whether your goal is to support visually impaired users or simply make your content more interactive, you can use WebsiteVoice’s TTS play button to improve the browsing experience. While this process does have some technical steps, you don’t have to be an experienced developer to integrate WebsiteVoice in Drupal websites.
In this guide, we’ll walk you through the most beginner-friendly method of adding the WebsiteVoice TTS play button to your Drupal site.

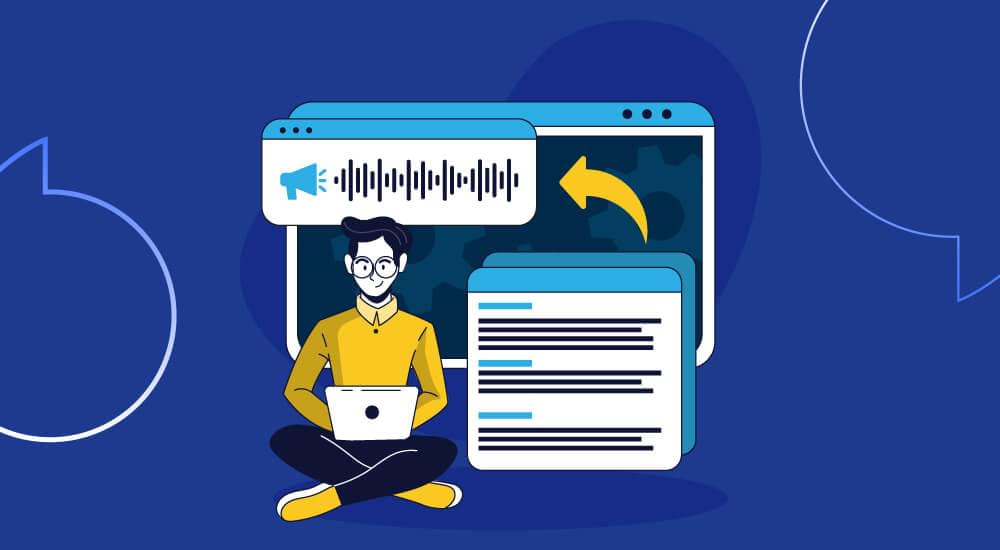
Overview of Adding a Play Button to Drupal Sites
Adding a ‘play button’ to a site means the users will have the option of listening to your website and blog’s content instead of just reading it. It is an effective way of reaching a wider audience, including visually impaired users and those who don’t like reading lengthy content. Such higher engagement and accessibility is possible by adding a simple text-to-speech JavaScript into your site.
This is how a Drupal site looks without the text-to-speech play button:

Once you have pasted the WebsiteVoice JavaScript TTS code, the play button will appear on your Drupal website:

Note: This guide is about WebsiteVoice integration with Drupal. If you are using another platform, check out our step-by-step guides for WordPress, Joomla, Squarespace, Blogger, Shopify, Wix, Webflow, and custom websites.
Step-by-Step Guide to Add Text-to-Speech to Drupal Sites
Let’s get started.
1. Sign up on WebsiteVoice to access the TTS play button code. You can start with a 14-day free trial to try out the tool.

2. Configure the TTS play button widget as per your requirements and brand.

There are different features on the WebsiteVoice dashboard, such as
- Language and Voice: You can choose from 60+ realistic AI voices that cover 35+ languages and accents.
- Style and Color: You can modify the style and color of the play button.
- Enable Download Option: Allow users to download website content in a listenable audio format
- Additional Features: Many other features are available, such as enabling social sharing, text-to-speech speed changer, and adding custom intro/outro messages.
3. Copy the JavaScript code under the Installation section. The code is generated as per your selected configuration.

4. Add your Drupal website link under the Update website section. This will ensure WebsiteVoice integration with your Drupal site.

After copying the WebsiteVoice’s code, move to Drupal to add the TTS play button.
5. Open your Drupal CMS desktop application. Wait for a few seconds for the web server to get started.

6. Inside the simple interface of the CMS software, click on the folder button to open your Drupal’s site directory.

7. Open the active theme folder. It can vary from Drupal site to site. Generally, you can find it under web/themes/contrib/YOUR\_THEME\_NAME

8. In this case, our active theme is drupal\_cms\_olivero. So, open the folder of whatever your Drupal theme is.

9. Inside the theme folder, look for the Templates folder. If not, create it.

10. Now, create a layout folder.

11. Under the layout folder, you have to create a new file named **html.html.twig.** You can either create it as an empty text file and change it to .twig extension later or create the .twig file and edit it in a code editor.

12. Open the file and paste this code:
1 |
|
You have to paste the copied WebsiteVoice JavaScript right before the
<body>tag. Your theme files and code can vary, so if you run into an issue, contact us.
13. Open the Save as option in your Notepad file and save the file as **html.html.twig** format.

14. Now, you have successfully added the TTS code to your Drupal website. You have to refresh your website for the play button to appear. For this, open the Drupal CMS and access your Performance settings located under Configuration.

15. Clear all caches of your website.

Refresh your website and the text-to-speech play button will now appear on it.
Conclusion
By following these simple steps, your Drupal site will have the text-to-speech play button, and users will be able to listen to the content on your site.
Since different Drupal themes come with different functionalities and structures, it is possible that your website’s folders are different from the ones discussed above. So, if you face any issues in following these steps and integrating WebsiteVoice to your Drupal site, you should contact us.